
如何仅用一个 JavaScript 函数绘制任何规则形状
好的,我知道我用了标题党,但请耐心听我说。我想分享一个我用了很久的函数。我最初写它是为了画一个六边形——六边形很酷,许多六边形更好,而 镶嵌式 的六边形是最好的。所以我写了一个函数来画一个,然后我就可以重复使用它。
在我做这件事的时候,我开始修改六边形,以便通过几个参数来绘制一些形状。让我们从我为六边形所做的事情开始,然后我们再继续。
使用 JavaScript 绘制六边形
六边形有六条相等的边。如果我们把起点想象成六边形的中心,我们可以围绕这个点移动六次,将每个点连接起来形成边。
让我们先创建一个 <canvas> 元素,并使用 2d 绘图上下文。在这个例子中,我们将画布的大小固定为 400 x 200 像素,并将中心点设置为 (200, 100)。
<canvas></canvas>
const canvas = document.querySelector("canvas");
canvas.width = 400;
canvas.height = 200;

const ctx = canvas.getContext("2d");
const cx = 200;
const cy = 100;
现在我们需要找出中心点周围各点的 x(水平)和 y(垂直)位置,当这些点用线连接时,将形成六条相等的边。为此,我们使用从中心到点的距离(我们称之为半径)和中心点的方向角。
因为一个完整的圆有 360 度,我们要创建六个点,我们可以将 360 除以 6,就知道每隔 60 度创建一个点。然而,这里有一个小小的注意事项——JavaScript 使用 弧度 而不是 度。我一直记得的一件事是,radians 中的 pi 值等于 180 度,或者半个圆。所以 (Math.PI*2)/6 会给出每个 radians 的旋转角度,或者更简单地说,是 Math.PI/3。
接下来我们需要添加一些三角函数来找到每个点的 x 和 y 位置。对于 x 位置,我们可以使用 半径乘以 cos(角度) 的和;对于 y 位置,可以使用 半径乘以 sin(角度)。让我们把它们放在一起,添加到上面的 JavaScript 代码中。
// set the radius of the hexagon
const radius = 50;

// move the canvas to the center position
ctx.translate(cx, cy);

for (let i = 0; i < 6; i++) {
  // calculate the rotation
  const rotation = (Math.PI / 3) * i;

  // for the first point move to
  if (i === 0) {
    ctx.moveTo(radius * Math.cos(rotation), radius * Math.sin(rotation));
  } else {
    // for the rest draw a line
    ctx.lineTo(radius * Math.cos(rotation), radius * Math.sin(rotation));
  }
}

// close path and stroke it
ctx.closePath();
ctx.stroke();
绘制任意边数的形状
假设我们想画一个三角形、一个正方形或一个八边形。在上面用于绘制六边形的函数中,我们只需要修改在 for 循环中绘制线的次数以及每个点的角度。
让我们把它变成一个函数,它接受中心点、半径和边数作为参数。
function drawShape(x, y, r, sides) {
  // move the canvas to the center position
  ctx.translate(x, y);

  for (let i = 0; i < sides; i++) {
    // calculate the rotation
    const rotation = ((Math.PI * 2) / sides) * i;

    // for the first point move to
    if (i === 0) {
      ctx.moveTo(r * Math.cos(rotation), r * Math.sin(rotation));
    } else {
      // for the rest draw a line
      ctx.lineTo(r * Math.cos(rotation), r * Math.sin(rotation));
    }
  }

  // close path and stroke it
  ctx.closePath();
  ctx.stroke();

  // reset the translate position
  ctx.resetTransform();
}
现在我们可以通过调整 sides 参数来绘制不同的形状。
drawShape(100, 100, 50, 3);
drawShape(225, 100, 50, 7);
drawShape(350, 100, 50, 4);
总结
这是对 <canvas> 元素在网页上绘图以及你可以用来绘制形状的一些方法的一个小介绍。如果你想更深入地了解所有这些部分是如何工作的,这里是我们使用的内容的总结。
<canvas>:我们可以在其上显示图形的元素。CanvasRenderingContext2D:用于在画布上绘制 2D 形状。translate():将原点移动到新位置。lineTo():从一个点画一条线到另一个点。closePath():将第一个点连接到最后一个点。stroke():用描边样式描绘路径。
为了计算每个点的位置,我们使用了一些数学和三角函数。
Math.cos():用于计算点的 x 位置。Math.sin():用于计算点的 y 位置。Math.PI:用于以弧度计算旋转角度。
要获取有关 <canvas> 元素可以实现的功能的更多灵感,请查看 Canvas 教程,它从基础开始,然后涵盖动画和像素处理等更高级的主题。
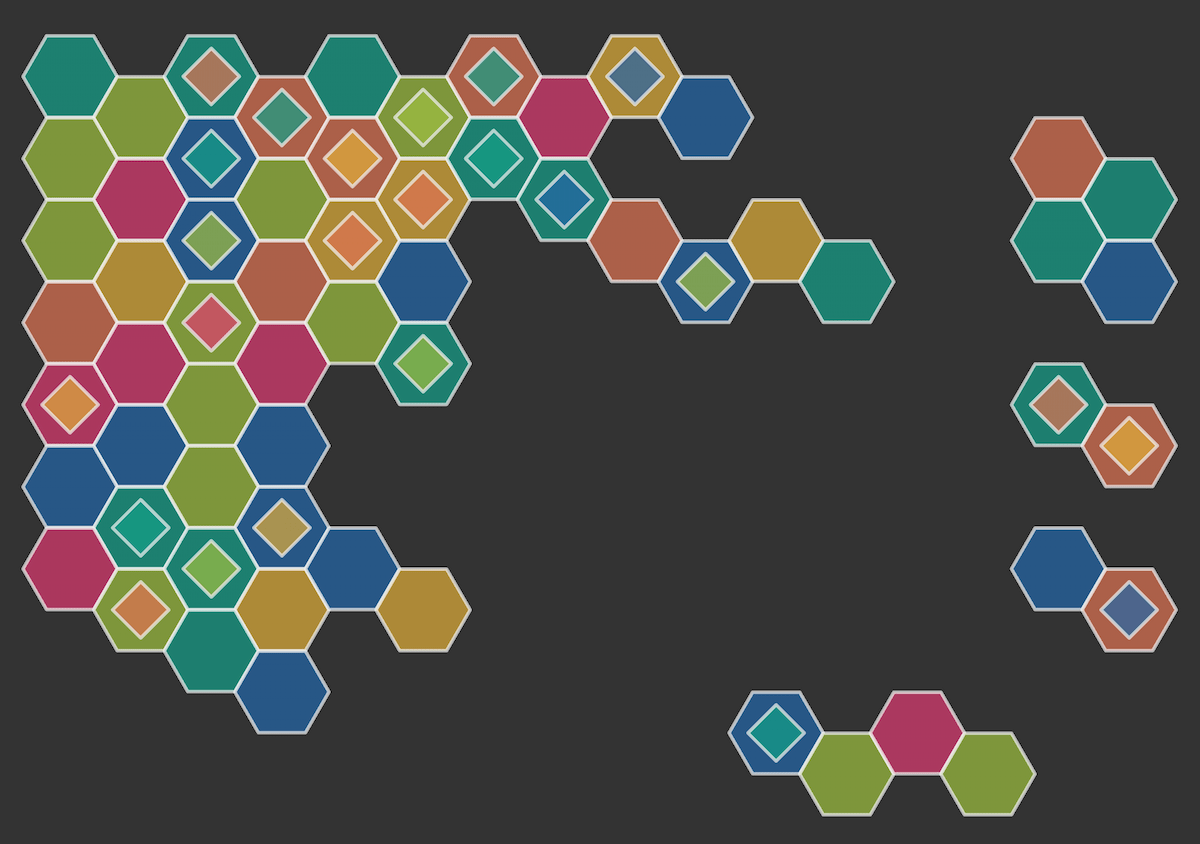
有很多方法可以扩展这个基本的形状函数。我喜欢包含一个内半径,这样你就可以创建菱形和星星。我还尝试过使用 曲线 而不是直线——你可以随意自己尝试。或者尝试一些镶嵌,这总是很有趣!
如果你尝试了这个函数,请告诉我,如果你喜欢它和我一样。一如既往,欢迎在 GitHub 讨论 中留下任何反馈,或者加入 MDN Web Docs 的 Discord 服务器 与我们聊天。