构建服务器
在本篇文章中,我们将为我们的手机应用设置服务器。服务器文件看起来会像一个普通的 Express 服务器文件,但有一个区别:Peer 服务器。
-
首先,在与之前创建的 HTML 和 CSS 文件相同的位置创建一个名为
server.js的文件。根据我们在package.json文件中的定义,这是我们应用的入口点。 -
您需要在
server.js文件的顶部通过 `require` peer 服务器来启动您的代码,以确保我们能够访问 peer 服务器。jsconst { ExpressPeerServer } = require("peer"); -
然后,您需要实际创建 peer 服务器。在上一行代码下方添加以下代码:
jsconst peerServer = ExpressPeerServer(server, { proxied: true, debug: true, path: "/myapp", ssl: {}, });我们使用
ExpressPeerServer对象来创建 peer 服务器,并在过程中传递一些选项。peer 服务器将为我们处理 WebRTC 所需的信令,因此我们无需担心 STUN/TURN 服务器或其他协议。 -
最后,您需要通过调用
app.use(peerServer)来告诉您的应用使用peerServer。您完成后的server.js文件应包含您在服务器文件中会包含的其他必需依赖项,并在根路径上提供index.html文件。更新
server.js使其看起来像这样:jsconst express = require("express"); const http = require("http"); const path = require("path"); const { ExpressPeerServer } = require("peer"); const app = express(); const server = http.createServer(app); const port = process.env.PORT || "8000"; const peerServer = ExpressPeerServer(server, { proxied: true, debug: true, path: "/myapp", ssl: {}, }); app.use(peerServer); app.use(express.static(path.join(__dirname))); app.get("/", (request, response) => { response.sendFile(`${__dirname}/index.html`); }); server.listen(port); console.log(`Listening on: ${port}`); -
您应该可以通过
localhost连接到您的应用(在我们的server.js中,我们使用端口 8000,但您可能正在使用其他端口号)。在您的终端中运行yarn start(其中start指的是您在前一页的package.json中声明的脚本)。在浏览器中访问localhost:8000,您应该会看到一个如下所示的页面: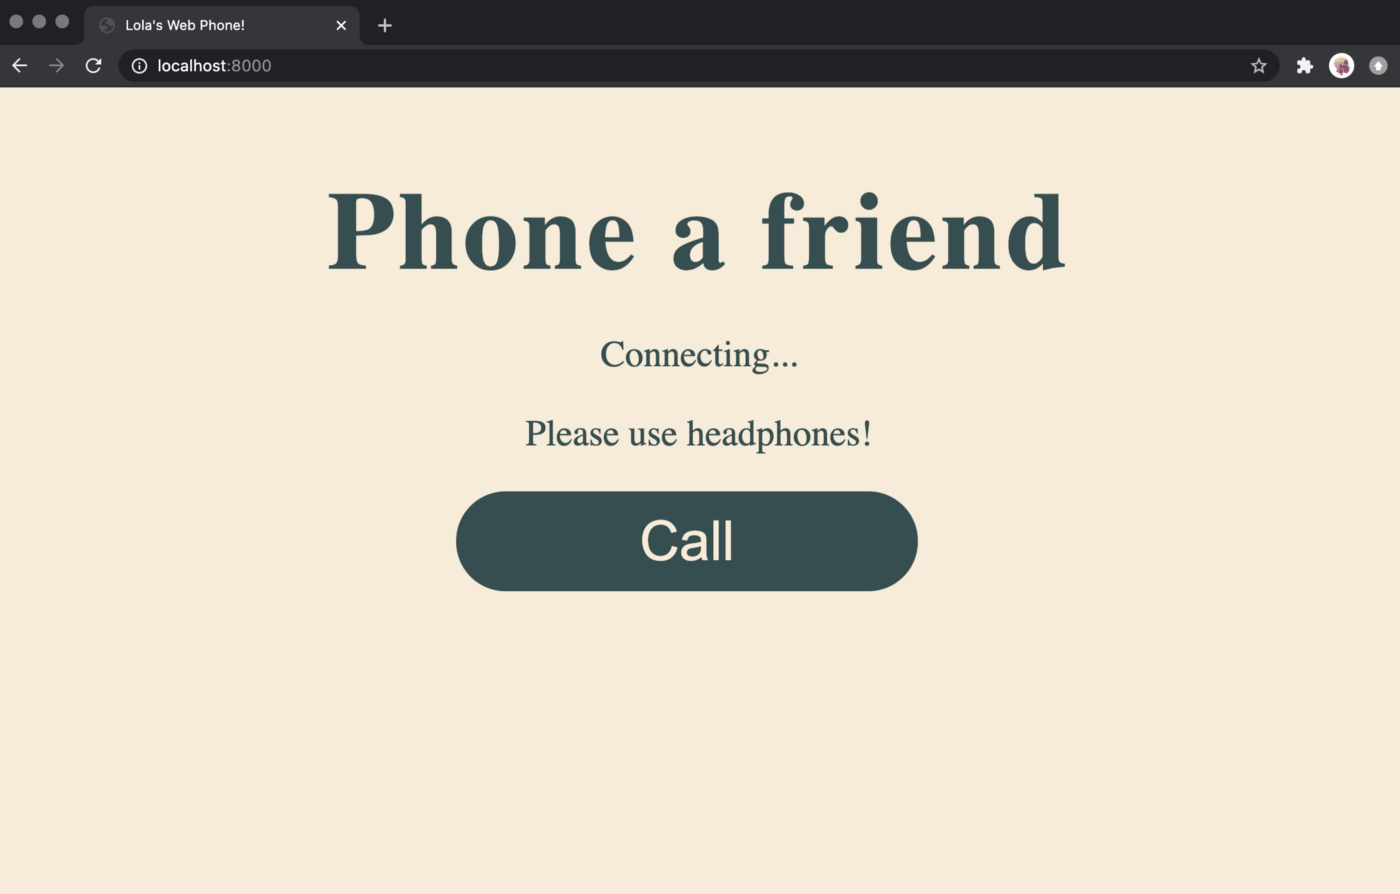
如果您想了解更多关于 Peer.js 的信息,请查看 GitHub 上的 Peer.js Server 仓库。